Vue入门到上手(4)―― VueJs 填坑日记之搭建Axios接口请求工具
上一章,我们认识了项目的目录结构,以及对项目的目录结构做了一些调整,已经能把项目重新跑起来了。今天我们来搭建api接口调用工具Axios。Vue本身是不支持ajax调用的,如果你需要这些功能就需要安装对应的工具。
支持ajax请求的工具很多,像superagent和axios。今天我们用的就是axios,因为听说最近网上大部分的教程书籍都使用的是axios,本身axios这个工具就已经做了很好的优化和封装,但是在使用时,还是比较繁琐,所以我们来重新封装一下。
安装Axios工具
cnpm install axios -D
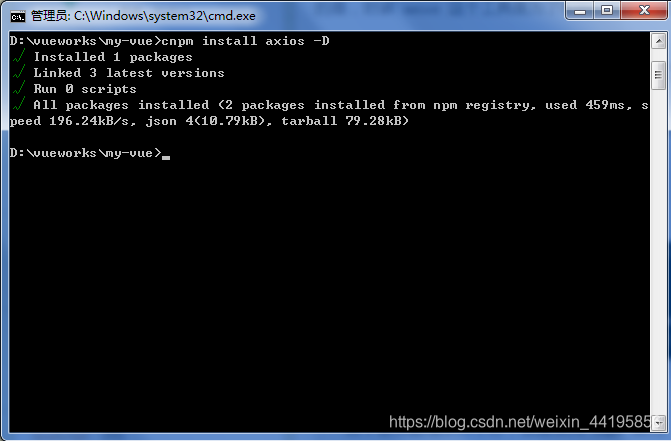 在安装的时候,一定要切换进入咱们的项目根目录,再运行安装命令,然后如提示以上信息,则表示安装完成。
封装Axios工具
编辑src/api/index.js文件(我们在上一章整理目录结构时,在src/api/目录新建了一个空的index.js文件),现在我们为该文件填写内容。
// 配置API接口地址
var root = 'https://cnodejs.org/api/v1'
// 引用axios
var axios = require('axios')
// 自定义判断元素类型JS
function toType (obj) {return ({}).toString.call(obj).match(/\s([a-zA-Z]+)/)[1].toLowerCase()
}
// 参数过滤函数
function filterNull (o) {for (var key in o) {if (o[key] === null) {delete o[key]}if (toType(o[key]) === 'string') {o[key] = o[key].trim()} else if (toType(o[key]) === 'object') {o[key] = filterNull(o[key])} else if (toType(o[key]) === 'array') {o[key] = filterNull(o[key])}}return o
}/*接口处理函数这个函数每个项目都是不一样的,我现在调整的是适用于https://cnodejs.org/api/v1 的接口,如果是其他接口需要根据接口的参数进行调整。参考说明文档地址:https://cnodejs.org/topic/5378720ed6e2d16149fa16bd主要是,不同的接口的成功标识和失败提示是不一致的。另外,不同的项目的处理方法也是不一致的,这里出错就是简单的alert */
function apiAxios (method, url, params, success, failure) {if (params) {params = filterNull(params)}axios({method: method,url: url,data: method === 'POST' || method === 'PUT' ? params : null,params: method === 'GET' || method === 'DELETE' ? params : null,baseURL: root,withCredentials: false}).then(function (res) {if (res.data.success === true) {if (success) {success(res.data)}} else {if (failure) {failure(res.data)} else {window.alert('error: ' + JSON.stringify(res.data))}}}).catch(function (err) {let res = err.responseif (err) {window.alert('api error, HTTP CODE: ' + res.status)}})
}// 返回在vue模板中的调用接口
export default {get: function (url, params, success, failure) {return apiAxios('GET', url, params, success, failure)},post: function (url, params, success, failure) {return apiAxios('POST', url, params, success, failure)},put: function (url, params, success, failure) {return apiAxios('PUT', url, params, success, failure)},delete: function (url, params, success, failure) {return apiAxios('DELETE', url, params, success, failure)}
}
更多关于AxIos的解释请参见:https://github.com/mzabriskie/axios
配置Axios工具
我们在使用之前,需要在src/main.js中进行简单的配置,先来看一下原始的main.js文件
// The Vue build version to load with the `import` command
// (runtime-only or standalone) has been set in webpack.base.conf with an alias.
import Vue from 'vue'
import App from './App'
import router from './router'Vue.config.productionTip = false/* eslint-disable no-new */new Vue({el: '#app',router,template: '<App/>',components: { App }
})
修改为:
// The Vue build version to load with the `import` command
// (runtime-only or standalone) has been set in webpack.base.conf with an alias.
import Vue from 'vue'
import App from './App'
import router from './router'// 引用API文件
import api from './api/index.js'
// 将API方法绑定到全局
Vue.prototype.$api = apiVue.config.productionTip = false/* eslint-disable no-new */
new Vue({el: '#app',router,template: '<App/>',components: { App }
})
通过以上的配置,我们就可以在项目中使用axios工具了,接下来我们来测试一下这个工具。
使用Axios工具
我们来修改一下 src/page/Index.vue 文件,将代码调整为以下代码:
<template><div>index page</div>
</template>
<script>
export default {created () {this.$api.get('topics', null, r => {console.log(r)})}
}
</script>
我们在Index.vue中向浏览器的控制台输入一些接口请求到的数据,如果你和我也一样,那说明我们的接口配置完成正确。如下图:
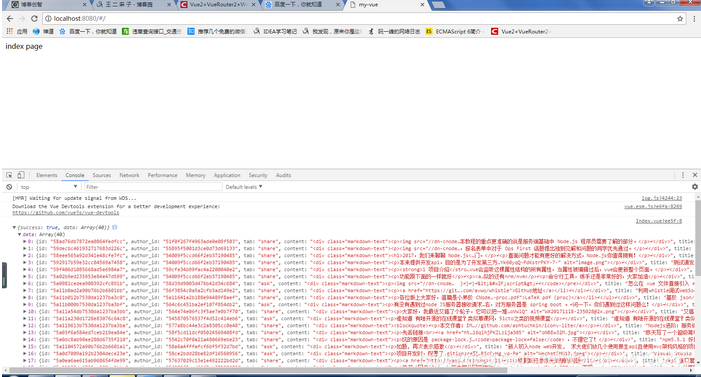
(博主这里有一个报错~可参考文章:https://blog.csdn.net/weixin_44195856/article/details/107813746)
如果你是按我的操作一步一步来,那最终结果应该和我一样。如果出错请仔细检查代码。
本文转载至博客园博主:王二麻子技术交流园地,侵删。
我是与其终,一个风起云涌的女孩子。
以下是我的公众号,主要写的是有关于前段后台数据库,面试技巧,学习方法,职场心得等,感兴趣的可以关注一下哦。

很高兴你能看到我的博客,希望能对你有所帮助。
qq群:可直接扫码进qq群,或者输入群号670983672。
微信群:可加下方博主微信,备注“进群”即可。