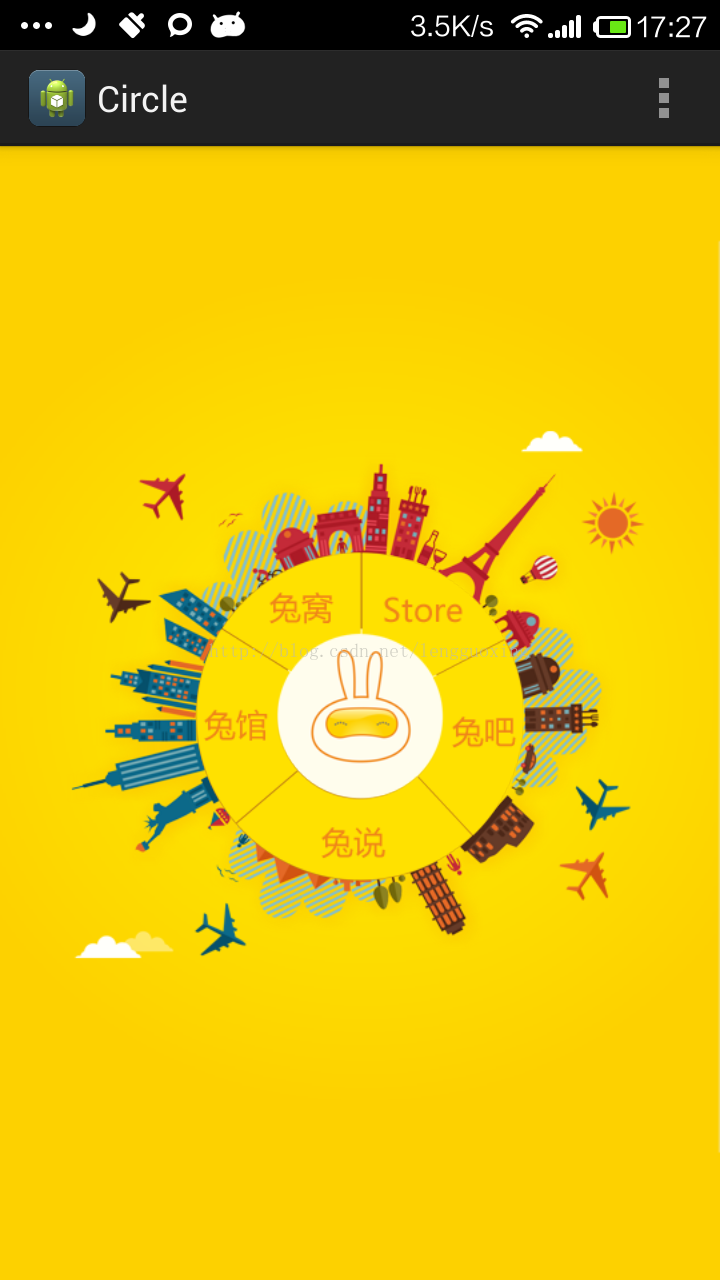
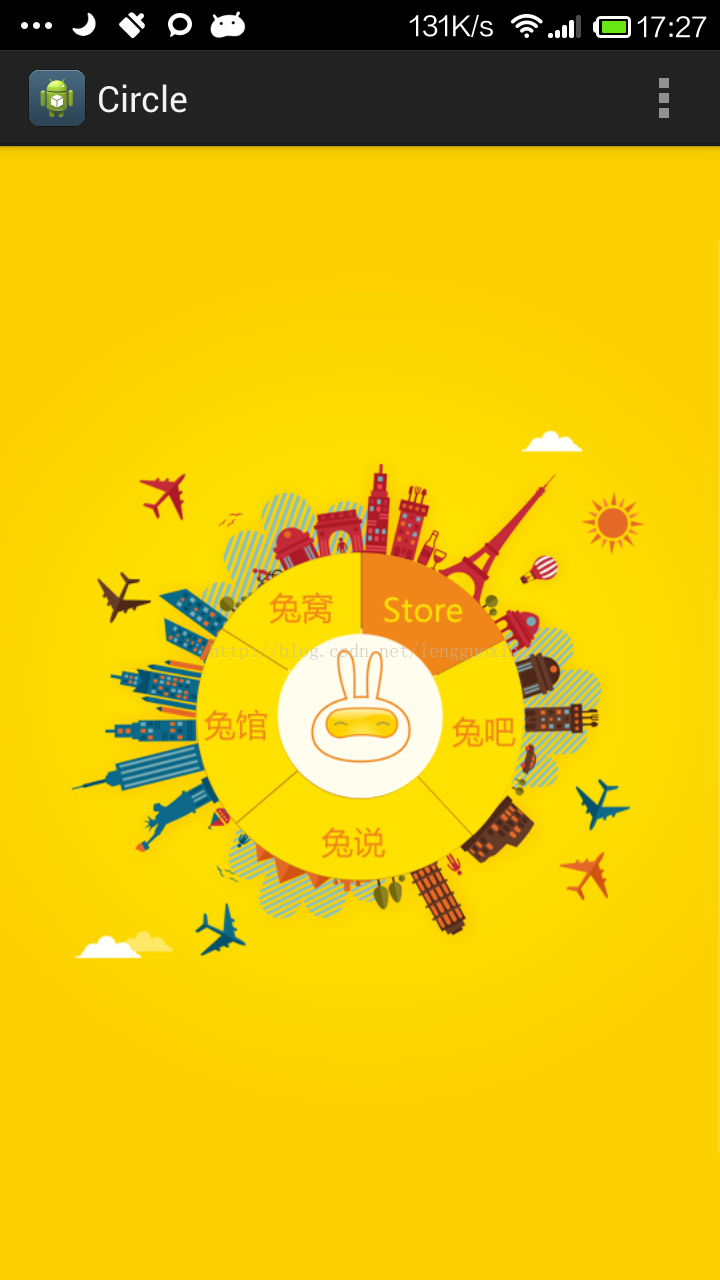
想实现这样一种效果:一个转盘,旁边有几个按钮分布。每个按钮都可以点击:


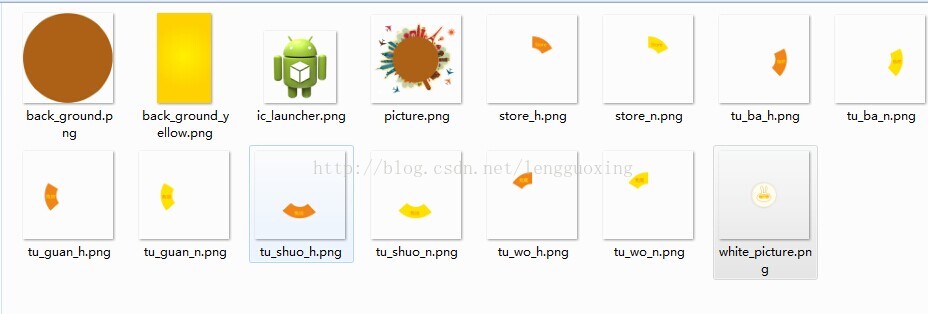
表面上看,有5个按钮,其实其中每个按钮都是一个大圆圈,放置的位置都是重叠的。只是按下去的那部分才会有颜色,其他都是透明。

看看这个布局文件你就知道是怎么摆放的:
<RelativeLayout xmlns:android="http://schemas.android.com/apk/res/android" xmlns:tools="http://schemas.android.com/tools" android:layout_width="match_parent" android:layout_height="match_parent" android:background="@drawable/back_ground_yellow" tools:context="com.example.circle.MainActivity$PlaceholderFragment" > <ImageView android:id="@+id/imageView1" android:layout_width="wrap_content" android:layout_height="wrap_content" android:layout_centerInParent="true" android:src="@drawable/picture" /> <ImageView android:id="@+id/imageView2" android:layout_width="wrap_content" android:layout_height="wrap_content" android:layout_centerInParent="true" android:src="@drawable/white_picture" /> <com.example.circle.TrapezoidImageButton android:id="@+id/telId1" android:layout_centerInParent="true" android:layout_width="wrap_content" android:layout_height="wrap_content" android:background="@drawable/select_menu_1" android:tag="telId1" /> <com.example.circle.TrapezoidImageButton android:id="@+id/telId2" android:layout_centerInParent="true" android:layout_width="wrap_content" android:layout_height="wrap_content" android:background="@drawable/select_menu_2" android:tag="telId12" /> <com.example.circle.TrapezoidImageButton android:id="@+id/telId3" android:layout_centerInParent="true" android:layout_width="wrap_content" android:layout_height="wrap_content" android:background="@drawable/select_menu_3" android:tag="telId3" /> <com.example.circle.TrapezoidImageButton android:id="@+id/telId4" android:layout_centerInParent="true" android:layout_width="wrap_content" android:layout_height="wrap_content" android:background="@drawable/select_menu_4" android:tag="telId4" /> <com.example.circle.TrapezoidImageButton android:id="@+id/telId5" android:layout_centerInParent="true" android:layout_width="wrap_content" android:layout_height="wrap_content" android:background="@drawable/select_menu_5" android:tag="telId5" /></RelativeLayout>
其中自定义的ImageButton
public class TrapezoidImageButton extends ImageButton { public TrapezoidImageButton(Context context, AttributeSet attrs, int defStyle) { super(context, attrs, defStyle); } public TrapezoidImageButton(Context context, AttributeSet attrs) { super(context, attrs); } public TrapezoidImageButton(Context context) { super(context); } @Override public boolean onTouchEvent(MotionEvent event) { if (isTouchPointInView(event.getX(),event.getY())|| event.getAction() != MotionEvent.ACTION_DOWN){ return super.onTouchEvent(event); }else{ return false; } } protected boolean isTouchPointInView(float localX, float localY){ Bitmap bitmap = Bitmap.createBitmap(getWidth(), getHeight(), Config.ARGB_8888); Canvas canvas = new Canvas(bitmap); draw(canvas); int x = (int)localX; int y = (int)localY; if (x < 0 || x >= getWidth()) return false; if (y < 0 || y >= getHeight()) return false; int pixel = bitmap.getPixel(x,y); if ((pixel&0xff000000) != 0){ //不是透明的,这里是最关键所在。 return true; }else{ return false; } }}主Activity:
package com.example.circle;import android.app.Activity;import android.app.ActionBar;import android.app.Fragment;import android.os.Bundle;import android.view.LayoutInflater;import android.view.Menu;import android.view.MenuItem;import android.view.View;import android.view.View.OnClickListener;import android.view.ViewGroup;import android.widget.Toast;import android.os.Build;public class MainActivity extends Activity { @Override protected void onCreate(Bundle savedInstanceState) { super.onCreate(savedInstanceState); setContentView(R.layout.activity_main); if (savedInstanceState == null) { getFragmentManager().beginTransaction() .add(R.id.container, new PlaceholderFragment()).commit(); } } @Override public boolean onCreateOptionsMenu(Menu menu) { // Inflate the menu; this adds items to the action bar if it is present. getMenuInflater().inflate(R.menu.main, menu); return true; } @Override public boolean onOptionsItemSelected(MenuItem item) { // Handle action bar item clicks here. The action bar will // automatically handle clicks on the Home/Up button, so long // as you specify a parent activity in AndroidManifest.xml. int id = item.getItemId(); if (id == R.id.action_settings) { return true; } return super.onOptionsItemSelected(item); } /** * A placeholder fragment containing a simple view. */ public static class PlaceholderFragment extends Fragment { private Activity mactivity; public PlaceholderFragment() { } @Override public View onCreateView(LayoutInflater inflater, ViewGroup container, Bundle savedInstanceState) { View rootView = inflater.inflate(R.layout.fragment_main, container, false); mactivity = getActivity(); rootView.findViewById(R.id.telId1).setOnClickListener(onclick); rootView.findViewById(R.id.telId2).setOnClickListener(onclick); rootView.findViewById(R.id.telId3).setOnClickListener(onclick); rootView.findViewById(R.id.telId4).setOnClickListener(onclick); rootView.findViewById(R.id.telId5).setOnClickListener(onclick); return rootView; } public OnClickListener onclick = new OnClickListener() { @Override public void onClick(View v) { Toast.makeText(mactivity, v.getTag().toString(), 1*1000).show(); } }; } }在这里也分享一个demo源代码下载地址点击打开链接