今天在调ViewPager的时候,感觉ViewPager+Fragment这种做法更灵活,所以,现在拿出来Fragment再整理下。
一,为什么要用Fragment
1,灵活布局
Fragment表现Activity中用UI的一个行为或者一部分。可以组合多个fragment放在一个单独的activity中来创建一个多界面区域的UI,并可以在多个activity里重用某一个fragment。把fragment想象成一个activity的模块化区域,有它自己的生命周期,接收属于它的输入事件,并且可以在activity运行期间添加和删除。加入了Fragment,可以根据用户或设备的需要,activity界面可以在运行时组装,甚至是重新组装。
另外,从实现上说,采用fragment而不是activity进行应用的UI管理,可以绕开安卓系统activity规则的限制。
2,考虑到大屏设备
Android在3.0中引入了fragments的概念,主要目的是用在大屏幕设备上--例如平板电脑上,支持更加动态和灵活的UI设计。平板电脑的屏幕要比手机的大得多,有更多的空间来放更多的UI组件,并且这些组件之间会产生更多的交互.Fragment允许这样的一种设计,而不需要你亲自来管理viewhierarchy的复杂变化。通过将activity的布局分散到fragment中,你可以在运行时修改activity的外观,并在由activity管理的back stack中保存那些变化。
二,Fragment的两种基本使用方法
1,使用布局方式引入fragment
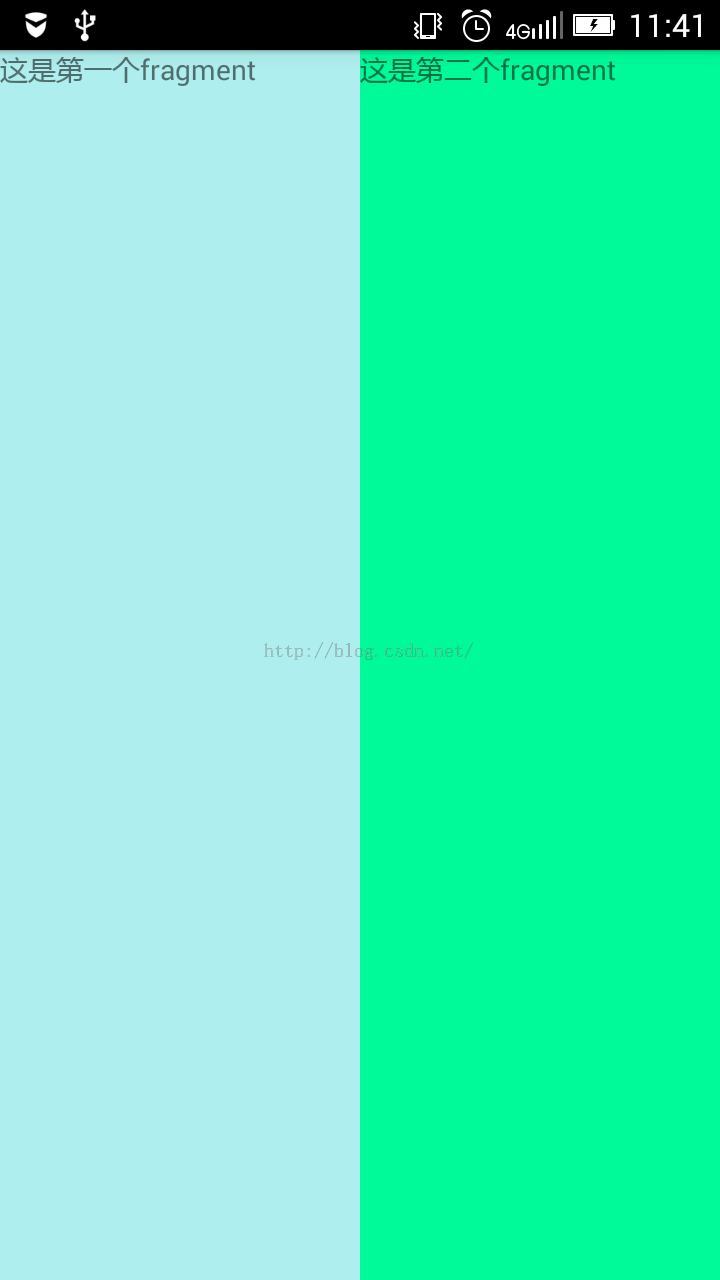
下面来用fragment写一个简单的布局,两个fragment布到一个activity上面:
先是第一个fragment:
<FrameLayout xmlns:android="http://schemas.android.com/apk/res/android" xmlns:tools="http://schemas.android.com/tools" android:layout_width="match_parent" android:layout_height="match_parent" android:background="#AFEEEE" tools:context="com.example.liuhuichao.projecttest.ExampleFragment"> <!-- TODO: Update blank fragment layout --> <TextView android:layout_width="match_parent" android:layout_height="match_parent" android:text="这是第一个fragment" /></FrameLayout>
在oncreate里面,加载这个fragment的布局文件及进行view的初始化:
public class ExampleFragment extends Fragment { @Override public void onCreate(Bundle savedInstanceState) { super.onCreate(savedInstanceState); } @Override public View onCreateView(LayoutInflater inflater, ViewGroup container, Bundle savedInstanceState) { // Inflate the layout for this fragment return inflater.inflate(R.layout.fragment_example, container, false); }}
第二个fragment,基本类似:
<FrameLayout xmlns:android="http://schemas.android.com/apk/res/android" xmlns:tools="http://schemas.android.com/tools" android:layout_width="match_parent" android:layout_height="match_parent" android:background="#00FA9A" tools:context="com.example.liuhuichao.projecttest.ExampleFragmentTwo"> <!-- TODO: Update blank fragment layout --> <TextView android:layout_width="match_parent" android:layout_height="match_parent" android:text="这是第二个fragment" /></FrameLayout>
public class ExampleFragmentTwo extends Fragment { @Override public void onCreate(Bundle savedInstanceState) { super.onCreate(savedInstanceState); } @Override public View onCreateView(LayoutInflater inflater, ViewGroup container, Bundle savedInstanceState) { return inflater.inflate(R.layout.fragment_example_fragment_two, container, false); }}
Activity的布局:
<?xml version="1.0" encoding="utf-8"?><LinearLayout xmlns:android="http://schemas.android.com/apk/res/android" android:layout_width="match_parent" android:layout_height="match_parent"> <fragment android:id="@+id/fragmentOne" android:layout_width="0dip" android:layout_height="match_parent" android:name="com.example.liuhuichao.projecttest.ExampleFragment" android:layout_weight="1" /> <fragment android:id="@+id/fragmentTwo" android:layout_width="0dip" android:layout_height="match_parent" android:name="com.example.liuhuichao.projecttest.ExampleFragmentTwo" android:layout_weight="1" /></LinearLayout>
activity里面关联两个fragment:
public class MainFragmentActivity extends AppCompatActivity { @Override protected void onCreate(Bundle savedInstanceState) { super.onCreate(savedInstanceState); setContentView(R.layout.mainfragment); //获得FragmentManager ,然后获取FragmentTransaction FragmentManager fm=getFragmentManager(); FragmentTransaction transaction=fm.beginTransaction(); //用Fragment动态代替布局文件中内容 transaction.replace(R.id.fragmentOne,new ExampleFragment()); transaction.replace(R.id.fragmentTwo,new ExampleFragmentTwo()); //提交事务 transaction.commit(); }}
run下:
2,动态布局fragment
先说下,这种方式是推介方式,感觉挺能体现出灵活性来。
fragment还是用上面的两个,activity布局改一下:
<?xml version="1.0" encoding="utf-8"?><LinearLayout xmlns:android="http://schemas.android.com/apk/res/android" android:layout_width="match_parent" android:layout_height="match_parent" android:orientation="vertical" android:baselineAligned="false" ><Button android:id="@+id/btn_show_fragment1" android:layout_width="match_parent" android:layout_height="wrap_content" android:text="显示Fragment1"/> <Button android:id="@+id/btn_show_fragment2" android:layout_width="match_parent" android:layout_height="wrap_content" android:text="显示Fragment2"/> <FrameLayout android:id="@+id/fragment_container" android:layout_width="match_parent" android:layout_height="match_parent"/></LinearLayout>
Activity代码:
public class MainFragmentActivity extends AppCompatActivity { private Button btn_show_fragment1; private Button btn_show_fragment2; @Override protected void onCreate(Bundle savedInstanceState) { super.onCreate(savedInstanceState); setContentView(R.layout.fragmentmaintwo); btn_show_fragment1=(Button)findViewById(R.id.btn_show_fragment1); btn_show_fragment2=(Button)findViewById(R.id.btn_show_fragment2); btn_show_fragment1.setOnClickListener(new View.OnClickListener() { @Override public void onClick(View v) { FragmentManager manager=getFragmentManager(); FragmentTransaction ft=manager.beginTransaction(); ExampleFragment ef1=new ExampleFragment(); /* * add是将一个fragment实例添加到Activity的最上层 * replace替换containerViewId中的fragment实例, * 注意,它首先把containerViewId中所有fragment删除,然后再add进去当前的fragment * */ ft.add(R.id.fragment_container, ef1); ft.commit(); } }); btn_show_fragment2.setOnClickListener(new View.OnClickListener() { @Override public void onClick(View v) { FragmentManager manager=getFragmentManager(); FragmentTransaction ft=manager.beginTransaction(); ExampleFragmentTwo ef2=new ExampleFragmentTwo(); ft.add(R.id.fragment_container,ef2); ft.commit(); } }); /* setContentView(R.layout.mainfragment); //获得FragmentManager ,然后获取FragmentTransaction FragmentManager fm=getFragmentManager(); FragmentTransaction transaction=fm.beginTransaction(); //用Fragment动态代替布局文件中内容 transaction.replace(R.id.fragmentOne,new ExampleFragment()); transaction.replace(R.id.fragmentTwo,new ExampleFragmentTwo()); //提交事务 transaction.commit();*/ }}
感觉用FragmentManager跟FragmentTransaction来管理fragment的时候,很像事物。百度下原理瞅瞅,发现确实有那个意思。
版权声明:本文为博主原创文章,未经博主允许不得转载。