1、安装需要的依赖
[root@hadoop102 ~]# yum install -y binutils compat-libstdc++ \
elfutils-libelf elfutils-libelf-devel elfutils-libelf-devel-static \
gcc gcc-c++ glibc glibc-common glibc-devel glibc-headers \
kernel-headers ksh libaio libaio-devel libgcc libgomp libstdc++ \
libstdc++-devel make sysstat unixODBC unixODBC-devel[root@hadoop102 ~]# yum install binutils-2.* compat-libstdc++-33* \
elfutils-libelf-0.* elfutils-libelf-devel-* gcc-4.* gcc-c++-4.* \
glibc-2.* glibc-common-2.* glibc-devel-2.* glibc-headers-2.* \
ksh-2* libaio-0.* libaio-devel-0.* libgcc-4.* libstdc++-4.* \
libstdc++-devel-4.* make-3.* sysstat-7.* unixODBC-2.* \
unixODBC-devel-2.* pdksh*[root@hadoop102 ~]# yum -y install tigervnc tigervnc-server tigervnc-server-module
2、创建oracle用户
[root@hadoop102 ~]# useradd oracle
[root@hadoop102 ~]# passwd oracle
Changing password for user oracle.
New password: oracle
BAD PASSWORD: The password is shorter than 8 characters
Retype new password: oracle
passwd: all authentication tokens updated successfully.
3、创建用户组
[root@hadoop102 ~]# groupadd oinstall
[root@hadoop102 ~]# groupadd dba
4、修改oracle用户组
[root@hadoop102 ~]# usermod -g dba oracle
5、创建安装目录
[root@hadoop102 ~]# mkdir -p /u01/app/oracle/db_1
[root@hadoop102 ~]# cd /u01/app/oracle/
[root@hadoop102 oracle]# mkdir oradate
[root@hadoop102 oracle]# mkdir install
[root@hadoop102 oracle]# mkdir oraInventory
[root@hadoop102 oracle]# ll
total 0
drwxr-xr-x 2 root root 6 Jun  3 15:32 db_1
drwxr-xr-x 2 root root 6 Jun  3 15:33 install
drwxr-xr-x 2 root root 6 Jun  3 15:33 oradate
drwxr-xr-x 2 root root 6 Jun  3 15:33 oraInventory
6、修改 sysctl.conf 配置文件
[root@hadoop102 ~]# cp /etc/sysctl.conf /etc/sysctl.conf.bak
[root@hadoop102 ~]# vim /etc/sysctl.conf
vm.max_map_count = 655360# Kernel paramaters required by Oracle 11g R2
fs.aio-max-nr = 1048576
fs.file-max = 6815744
kernel.shmall = 2097152
kernel.shmmax = 536870912
kernel.shmmni = 4096
kernel.sem = 250 32000 100 128
net.ipv4.ip_local_port_range = 9000 65500
net.core.rmem_default = 262144
net.core.rmem_max = 4194304
net.core.wmem_default = 262144
net.core.wmem_max = 1048586
net.ipv4.tcp_wmem = 262144 262144 262144
net.ipv4.tcp_rmem = 4194304 4194304 4194304
7、加载配置文件
[root@hadoop102 ~]# sysctl -p
vm.max_map_count = 655360
fs.aio-max-nr = 1048576
fs.file-max = 6815744
kernel.shmall = 2097152
kernel.shmmax = 536870912
kernel.shmmni = 4096
kernel.sem = 250 32000 100 128
net.ipv4.ip_local_port_range = 9000 65500
net.core.rmem_default = 262144
net.core.rmem_max = 4194304
net.core.wmem_default = 262144
net.core.wmem_max = 1048586
net.ipv4.tcp_wmem = 262144 262144 262144
net.ipv4.tcp_rmem = 4194304 4194304 4194304
8、修改 limits.conf 配置文件
[root@hadoop102 ~]# cp /etc/security/limits.conf /etc/security/limits.conf.bak
[root@hadoop102 ~]# vim /etc/security/limits.conf
* soft nofile 65535
* hard nofile 1028576
* soft nproc 65535
* hard nproc unlimited
* soft memlock unlimited
* hard memlock unlimited
oracle soft nproc 2047
oracle hard nproc 16384
oracle soft nofile 1024
oracle hard nofile 65536
oracle hard stack 1024
9、修改login配置文件
[root@hadoop102 ~]# vim /etc/pam.d/login
session required /lib64/security/pam_limits.so
注意
32位系统用
session required /lib/security/pam_limits.so
64位系统用
session required /lib64/security/pam_limits.so
如果不写对,在命令行模式下,是无法登陆系统的
10、修改 profile 文件
[root@hadoop102 ~]# vim /etc/profile
export DISPLAY=:0.0
if [ $USER = "oracle" ]; thenif [ $SHELL = "/bin/ksh" ]; thenulimit -p 16384ulimit -n 65536elseulimit -u 16384 -n 65536fi
fi
[root@hadoop102 ~]# source /etc/profile
11、修改csh.login
[root@hadoop102 ~]# vim /etc/csh.login
if ( $USER == "oracle" ) thenlimit maxproc 16384limit descriptors 65536umask 022
endif
12、修改.bashrc文件
[root@hadoop102 ~]# cd /home/oracle/
[root@hadoop102 oracle]# vim .bashrc
# For Oracle Install
export DISPLAY=:0.0
export TMP=/tmp;
export TMPDIR=$TMP;
export ORACLE_BASE=/u01/app/oracle;
export ORACLE_HOME=$ORACLE_BASE/db_1;
export ORACLE_SID=orcl;
export ORACLE_TERM=xterm;
export PATH=/usr/sbin:$PATH;
export PATH=$ORACLE_HOME/bin:$PATH;
export LD_LIBRARY_PATH=$ORACLE_HOME/lib:/lib:/usr/lib;
export CLASSPATH=$ORACLE_HOME/JRE:$ORACLE_HOME/jlib:$ORACLE_HOME/rdbms/jlib;
if [ $USER = "oracle" ]; thenif [ $SHELL = "/bin/ksh" ]; thenulimit -p 16384ulimit -n 65536elseulimit -u 16384 -n 65536fi
fi
[root@hadoop102 oracle]# source .bashrc
13、修改系统标识
oracle默认不支持centos
[root@hadoop101 ~]# vim /etc/redhat-release
[root@hadoop101 ~]# cat /etc/redhat-release
RedHat-7
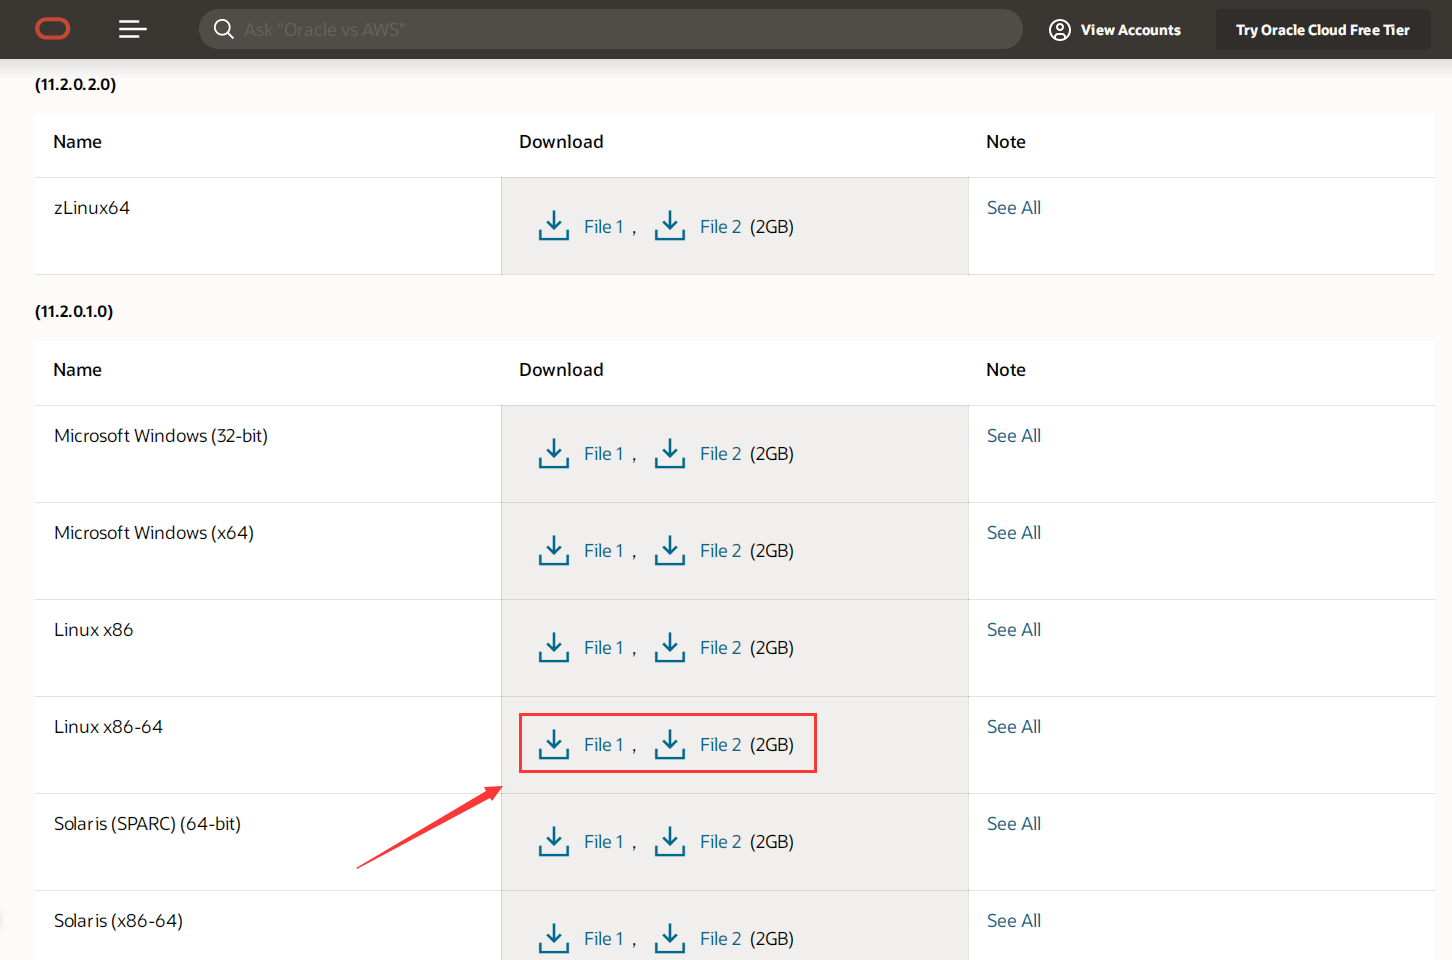
14、Linux 版本 oracle 下载

15、解压oracle安装包
[root@hadoop102 software]# unzip linux.x64_11gR2_database_1of2.zip -d /u01/app/oracle/install/
[root@hadoop102 software]# unzip linux.x64_11gR2_database_2of2.zip -d /u01/app/oracle/install/
16、修改用户组
[root@hadoop102 ~]# cd
[root@hadoop102 ~]# chown -R oracle:dba /u01/
17、赋予执行权限
[root@hadoop102 ~]# chmod -R 755 /u01/
18、root 用户执行xhost
[root@hadoop102 software]# xhost
[root@hadoop102 software]# xhost +
[root@hadoop102 database]# xhost 192.168.2.102
192.168.2.102 being added to access control list
19、切换用户,安装oracle
[root@hadoop102 oracle]# reboot
[root@hadoop102 oracle]# su - oracle
[oracle@hadoop102 ~]$ export LANG=en
[oracle@hadoop102 ~]$ cd /u01/app/oracle/install/database/
[oracle@hadoop102 database]$ sh runInstaller
第19步最好使用vnc远程连接,而且登陆vnc的账号密码是oracle的账户,之后就弹出界面,有了界面后就和window安装的方式是一样的了
https://www.jianshu.com/p/3071b6be79f5