arduino基础知识请见:
①: https://blog.csdn.net/dpjcn1990/article/details/92831300
②: https://blog.csdn.net/dpjcn1990/article/details/92831334
③: https://blog.csdn.net/dpjcn1990/article/details/92831364
ESP32及arduino理论知识
一、ESP32,是如何运行RTOS的?
参考文档 general-notes.rst
1、 第一阶段bootloader(ROM中)加载第二阶段bootloader(位于FLASH 0X1000)
2、 第二阶段的boot loader加载分区表和MAIN APP应用程序(其实就是freertos了)
main APP包含RAM段和Flash段
① 去0X8000加载分区表 ,配置两个CPU(PRO CPU和APP CPU)的MMU,但只使能PRO cpu的flash,一旦被加载,就会跳到main APP的入口
3、执行main APP,此时,第二个CPU和RTOS调度器都会运行
入口调用 componments/esp32/cpu_start.c中的call_start_cpu0函数,
此函数会调用 call_start_cpu1.执行后PRO CPU执行start_cpu0,APP CPU执行start_cpu1
最终会调用app_main函数
二、内存分布
内存分为:
1、IRAM:
Internal SRAM0
ISR。Handlers 中断处理函数必须放到IRAM里 (方法:通过家IRAM――ATTR属性就能把代码或变量放入IRAM里)
一些时序比较高的也应该放入IRAM里
2、IROM:
3、DRAM:
4、DROM:
三、启动流程
1、地址映射
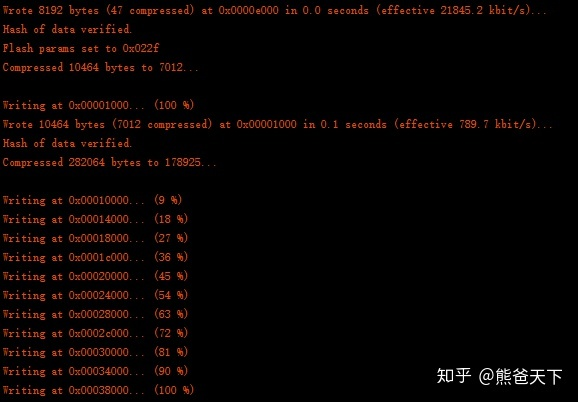
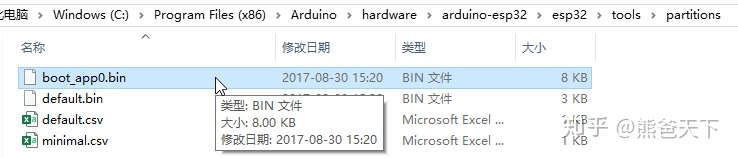
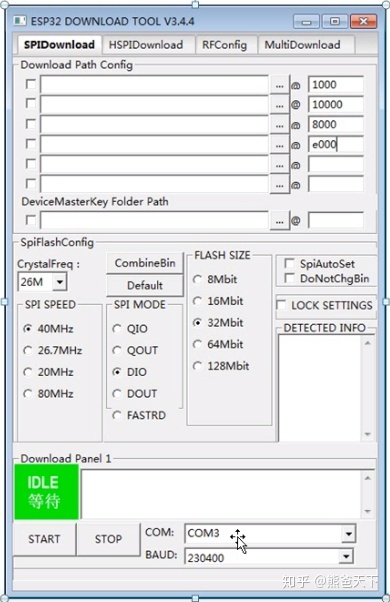
①、首先在0XE000下载了:bootapp0
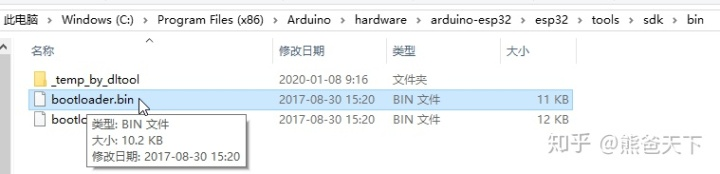
②、其次在0X1000下载了:bootloader
等待下载完成,后继续进程如下:
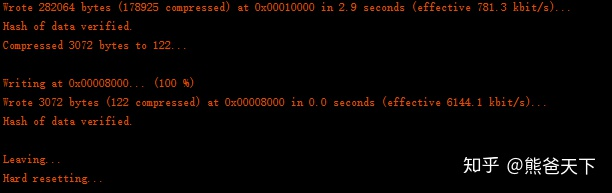
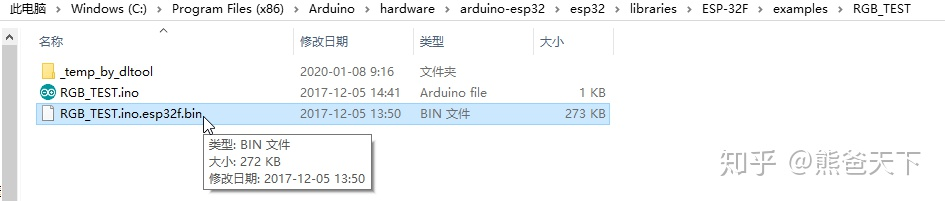
③、在0X10000下载了:应用程序(RTOS)
④、在0X8000下载了:分区表 default
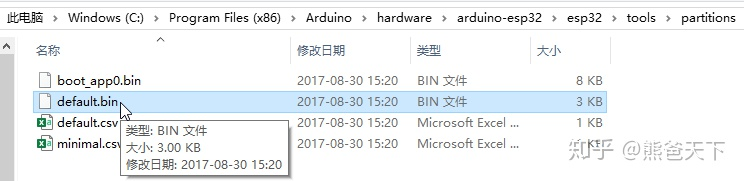
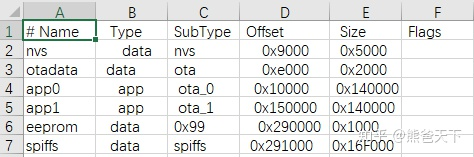
这个文件是由default.csv表格生成的,打开表格可以发现分区和地址的关系。
知道了分区表其实我们也可以借助别的工具下载程序了,例如
四、setup()和loop()函数
首先,我们要知道系统会默认编译cores文件夹下的内容(相当于系统自带的库函数)
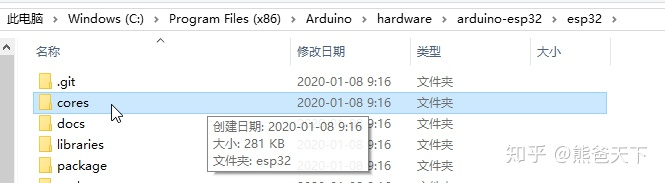
其次,我们要知道 PRO CPU在运行应用程序之前先运行了app_main函数,
其实这个函数就在cores文件夹下的main.cpp里面
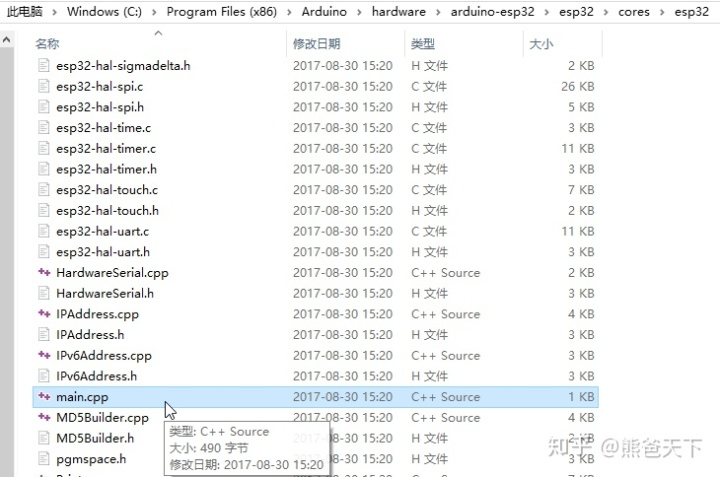

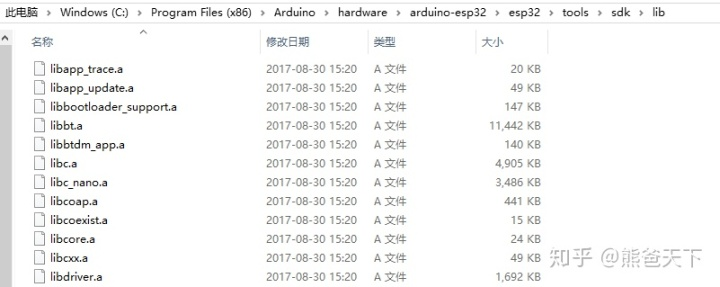
再次,我们要知道,除了cores和librarise下的文件,其他文件都被放入.a库文件中 lib库中
有了以上知识后,我们看程序可以知道

app_main()调用了loopTask
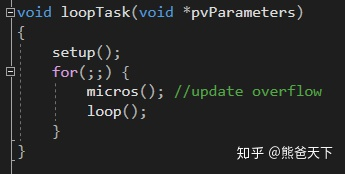
loopTask会先调用setup函数,再调用loop函数
loop函数会一直死循环,所以我们可以在setup里创建任务,
五、如何在第二个核上创建任务
使用xTaskCreatePinnedToCore(loopTask, "loopTask", 8192, NULL, 1, NULL, ARDUINO_RUNNING_CORE);
最后一个参数里 传0代表第一个核,1代表第二个核