android开发相对于ios有一个很大的优势,那就是可以通过xml来写布局,而且布局可以很灵活,能适应多种屏幕。但是时间久点你会发现xml中有太多的重复代码了,我真是恨死了在每次增加一个控件的时候都要不情愿的写上
1 2 | android:layout_width="wrap_content"android:layout_height="wrap_content" |
这两行, 如果我们有5个button控件都是16dip白色字体、背景为#0033FF、内容居中,那么我们必须在每个button上都加上这样几个属性:
1 2 3 4 | android:textColor="#FFFFFF"android:textSize="16dip"android:background="#0033FF"android:gravity="center" |
是不是很烦,是不是很sb!
其实我们可以用将这些重复的属性的定义写在style文件中,如果某个控件需要16dip白色字体、背景为#0033FF的样式,只需将包含这些属性定义的style引用进来就可以了。
先看看用style怎么设置这些重复的属性:
在values下新建style.xml
1 2 3 4 5 6 7 8 9 10 11 | <?xml version="1.0"encoding="utf-8"?><resources><style name="white_blue_button"> <item name="android:layout_width">wrap_content</item> <item name="android:layout_height">wrap_content</item> <item name="android:textSize">16dip</item> <item name="android:textColor">#FFFFFF</item> <item name="android:gravity">center</item> <item name="android:background">#0033FF</item></style></resources> |
再回到我们的布局文件在按钮中设置style="@style/white_blue_button"就可以了。
1 2 3 4 | <Button style="@style/white_blue_button" android:text="白色字体的蓝色按钮" /> |
上面的style.xml文件中我们只定义了一组名为white_blue_button的样式给白色字体的蓝色按钮使用,其实在style中还可以定义多个样式给不同的组件使用。下面的style文件中我们定义了一组样式给button,还定义了一组样式给ImageView:
1 2 3 4 5 6 7 8 9 10 11 12 13 14 15 16 17 18 19 | <?xml version="1.0"encoding="utf-8"?><resources><style name="homebtn"> <item name="android:layout_width">wrap_content</item> <item name="android:layout_height">wrap_content</item> <item name="android:textSize">20sp</item> <item name="android:textColor">#FFFFffff</item> <item name="android:gravity">center</item> <item name="android:layout_marginTop">15dip</item> <item name="android:layout_centerHorizontal">true</item> <item name="android:background">@drawable/selector</item></style><style name="homeiv"> <item name="android:layout_width">wrap_content</item> <item name="android:layout_height">wrap_content</item> <item name="android:layout_marginTop">15dip</item> <item name="android:layout_centerHorizontal">true</item></style></resources> |
这就是多个样式的例子,只需为不同的样式加上name就可以了。
上面的例子中我们发现"homebtn"完全继承了"homeiv"中的属性,因此还可以进一步简化:
1 2 3 4 5 6 7 8 9 10 11 12 13 14 15 16 | <?xml version="1.0"encoding="utf-8"?><resources><style name="homeiv"> <item name="android:layout_width">wrap_content</item> <item name="android:layout_height">wrap_content</item> <item name="android:layout_marginTop">15dip</item> <item name="android:layout_centerHorizontal">true</item> <item name="android:background">@drawable/home</item></style><style name="homebtn"parent="@style/homeiv"> <item name="android:textSize">20sp</item> <item name="android:textColor">#FFFFffff</item> <item name="android:gravity">center</item> <item name="android:background">@drawable/selector</item></style></resources> |
在homebtn中使用parent="@style/homeiv"来继承"homeiv"。
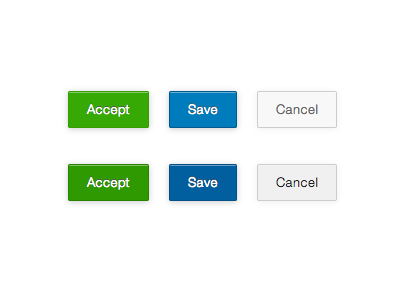
当然style最主要的作用不是用来精简代码,而是让开发者自定义更个性的效果,不过这个附加的作用也不错。拿button来说,一般我们会定义好几种风格的button,比如文章开头展示的那几种,最规范的办法是将这些风格的button在style中先定义好,然后应用到界面中去。
